Overview
The following guide will show you how to install SitePad on Webuzo.
Requirements
- A server with Webuzo.
- If you have a firewall, then please allow access to download all packages from *.sitepad.com and *.softaculous.com
Note : Please allow access to the following domains to your firewall as these are the servers through which your website will be published. Allow IP's full list.
- us.sitepad.com (IP: 192.198.80.4)
- eu.sitepad.com (IP: 91.121.54.72)
Installing SitePad
SSH to your server and enter following commands:
wget -O install.sh https://files.sitepad.com/install.sh
chmod 755 install.sh
./install.sh
You can change this setting later from SitePad Admin panel -> Settings page
Re-branding
Note : This parameter is optional you you can skip this parameter to let SitePad use default values.
If you would like to re-brand SitePad you can pass the following parameters to the installer :
 --brand_name=YOUR_BRAND (Only Alphanumeric characters without space are allowed)
 --brand_logo=https://URL.TO.YOUR.LOGO.png (Only PNG image allowed. Dimensions : 100pxX100px)
 --brand_url=https://BRAND.COM
So the install command will look like :
./install.sh --brand_name=YOUR_BRAND --brand_logo=https://URL.TO.YOUR.LOGO.png --brand_url=https://BRAND.COM
You can change this setting later from SitePad Admin panel -> Settings page
Access SitePad
Now go to Webuzo Admin Panel and follow the below steps to activate the SitePad
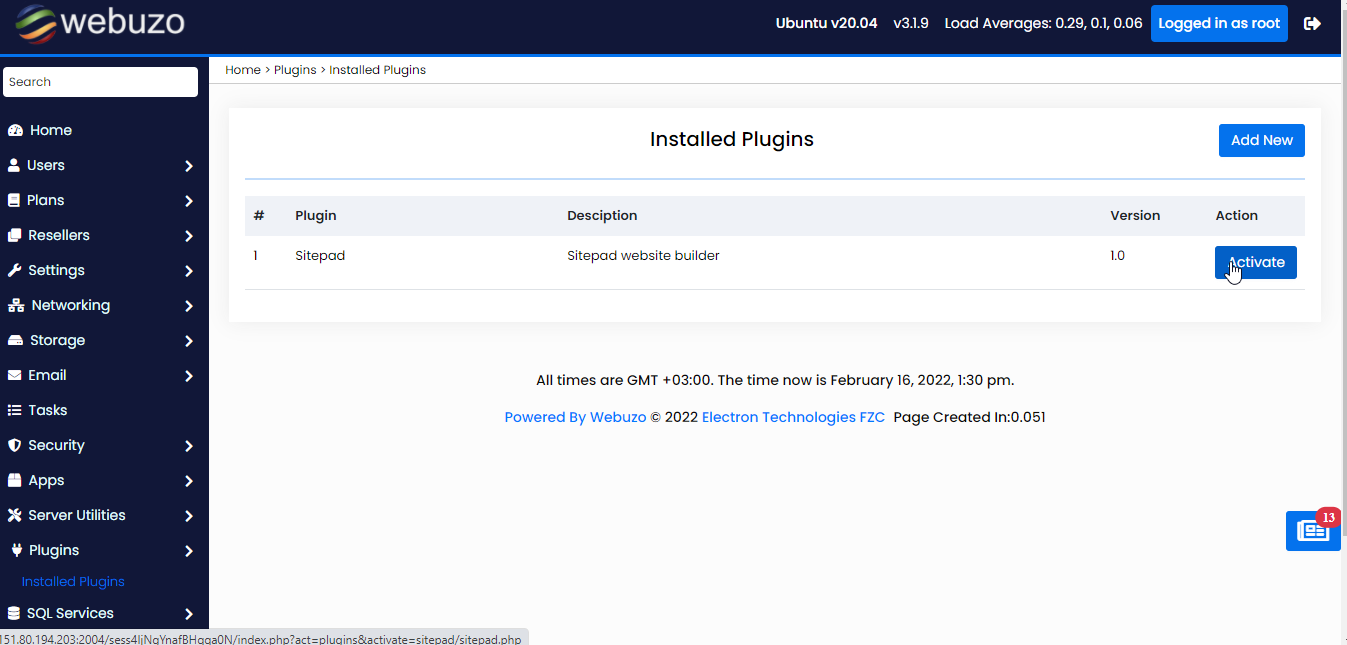
- Click on the Plugins from the left side bar.
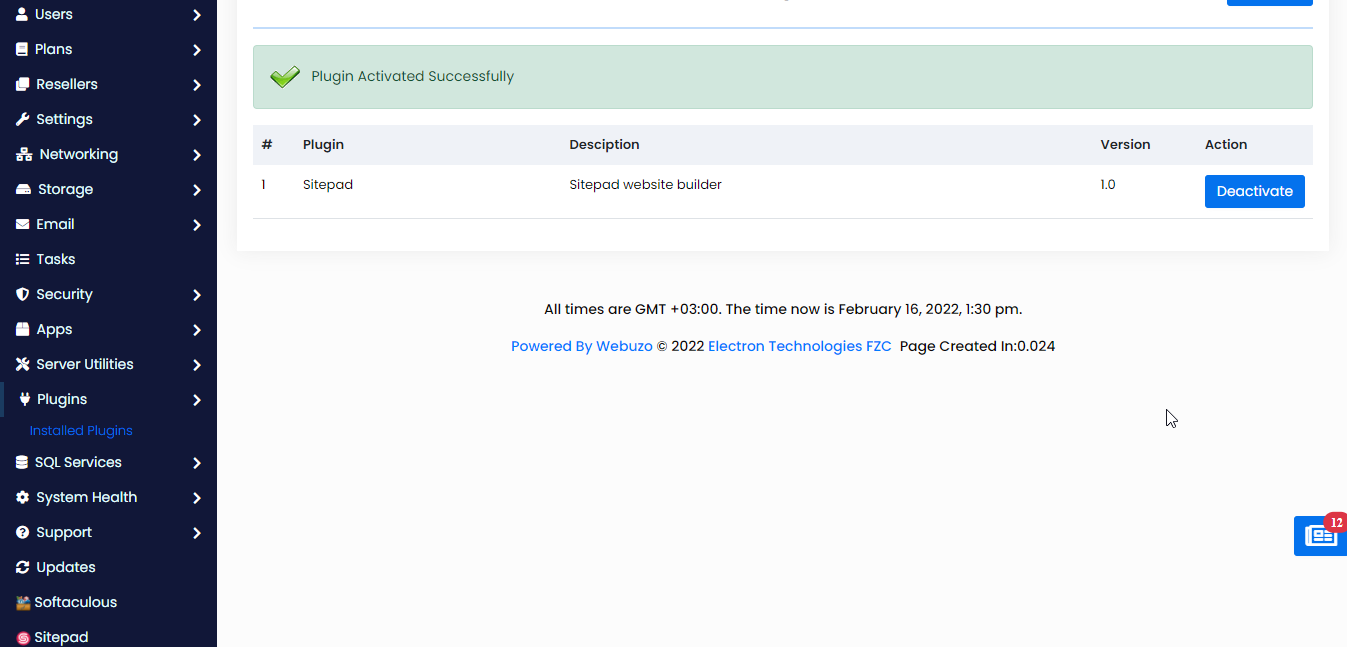
- And then click on the Installed Plugins as shown in the below image and click on the Activate button to activate the sitepad
- After that the SitePad will be shown in the bottom of the left side bar menu as shown in the below image to which you can access the same by clicking on that.
This is it and the installation of SitePad is completed!